Step-by-Step Guide to Roasting Light, Medium, and Dark Coffee at Home
 By
By
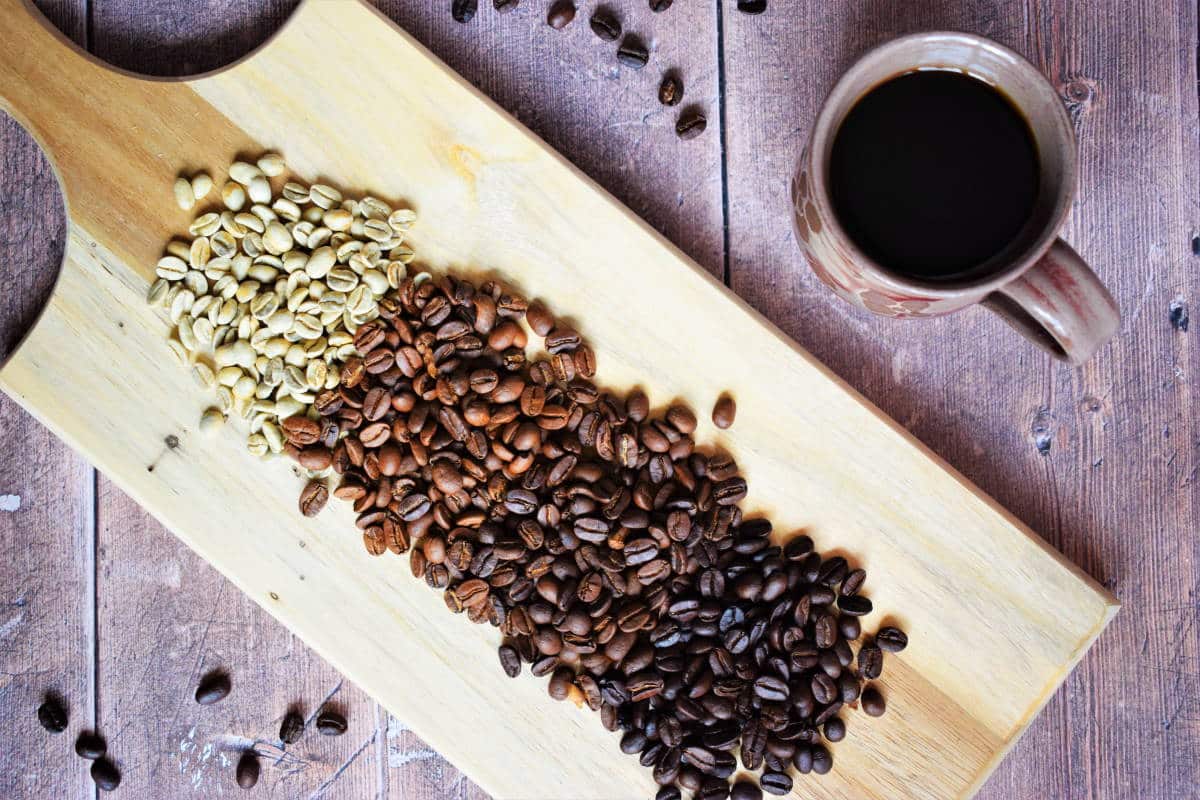
Roasting coffee at home is a rewarding way to enjoy fresh, flavorful coffee while experimenting with different roast levels. The roasting process transforms green coffee beans through heat, changing their color, aroma, and taste. Roast levels—light, medium, and dark—are mainly determined by how long and how hot the beans are roasted. Each level creates a distinct flavor profile, ranging from bright and fruity to bold and smoky.
Before you start roasting, gather the necessary tools and ingredients. You’ll need green coffee beans, a heat source (such as a coffee roaster, stovetop pan, popcorn popper, or oven), a stirring utensil, and a cooling tray. Preheat your roasting equipment and add a small batch of beans to ensure even heat distribution. During roasting, beans will gradually change color and release a popping sound known as the “first crack,” which signals the early roasting stage.
To achieve a light roast, stop the roasting process shortly after the first crack occurs—usually around 4–6 minutes depending on your heat level. Light roast beans are light brown with a dry surface and retain more of the coffee’s original flavor characteristics. These roasts often produce bright acidity and fruity or floral notes, making them ideal for brewing methods like pour-over or AeroPress.
For a medium roast, continue roasting for about 1–2 minutes after the first crack finishes but stop before the second crack begins. Medium roasts typically appear medium brown and have a balanced flavor with mild acidity, caramel sweetness, and subtle chocolate or nutty undertones. Because of this balance, medium roast coffee is one of the most popular choices for drip coffee makers and French press brewing.
If you prefer bold flavors, roast the beans until the second crack begins to create a dark roast. At this stage, beans become dark brown to nearly black and may develop a slightly oily surface. Dark roasts emphasize strong, smoky, and chocolatey flavors while reducing acidity. They are commonly used for espresso or strong coffee blends because of their heavy body and intense aroma.
Once your beans reach the desired roast level, immediately cool them to stop the cooking process. Spread them on a metal tray or use a cooling cycle if your roaster has one. Allow the beans to rest for at least 24–72 hours before brewing so excess carbon dioxide can escape, which improves flavor extraction. With practice, careful observation of color, aroma, and cracking sounds will help you consistently roast coffee exactly the way you like it.